
Introduction

To get started, simply place down a Computer of any tier and place a Screen of any tier on top (although any side would work). Then open the computer's GUI and place a Mainboard, a Hard Disk Drive (optional, but required for this tutorial) and an Advanced OS installation Floppy Disk (craftable by combining a normal floppy with a regular book in a crafting table).
Next, simply press the power button in the GUI, or shift-rightclick the computer with an empty hand. This will make the computer's run state indicator change color to green and display text on the screen.
Once the computer has booted you will see an installation menu giving you the option to either boot from the floppy directly, or instead install the contents of the floppy onto the hard disk drive.
Assuming you did install a hard disk drive, select "Install", by typing "1" and pressing ENTER. Then select your HDD by typing again "1" and pressing ENTER. Observe that the files were copied. Then press ENTER as prompted, remove the floppy disk and start the computer again.
Now you will see a shell that is usable. You can use commands like ls to explore the contents of the system, copy/delete files via cp and rm, edit files using nano or hop into a Lua shell using lua.
At this point you can write scripts that do all kinds of things. You can access components via the global components field (see Component Registry). E.g. components:getFirst("computer") gives you a reference to the Computer userdata object. Similarly for all other components, please note that in descriptions often the suffix "UD" is used to indicate userdata, but this suffix is never used in :getFirst().
-
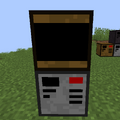 Sample computer setup unstarted
 -
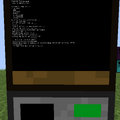 Sample computer setup running
 -
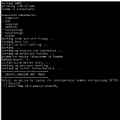 Initial boot
 -
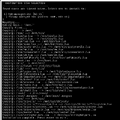 OS installation
 -
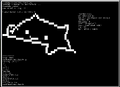 Fully installed Advanced OS


